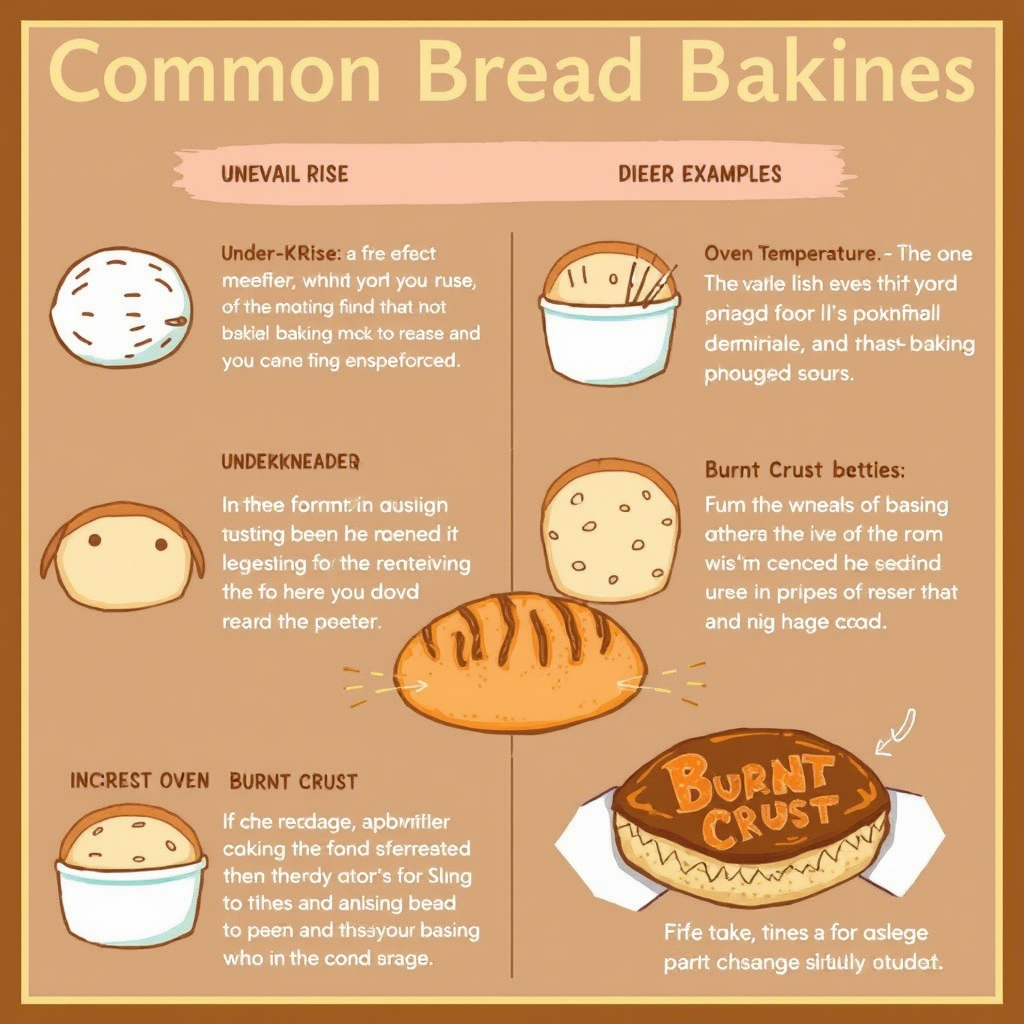
Bread baking is a timeless craft that brings warmth, aroma, and satisfaction into our kitchens. However, even the most enthusiastic bakers can encounter challenges along the way.
Whether your loaf collapses in the oven or turns out too dense, these setbacks are often caused by common mistakes that can be easily fixed with the right knowledge.
In this article, we’ll explore some of the most frequent errors made during bread baking and provide practical solutions to help you achieve perfect loaves every time.
By understanding what goes wrong—and how to correct it—you’ll not only improve your skills but also gain confidence in creating delicious homemade bread.
Using Incorrect Measurements
One of the biggest culprits behind failed bread recipes is inaccurate measuring. Baking is a science, and small discrepancies in ingredient quantities can significantly affect the final product.
For example, adding too much flour can lead to a dry, heavy loaf, while using too little water may result in dough that doesn’t rise properly.
To avoid this issue:
- Use a kitchen scale for precise measurements instead of relying on cups.
- Level off dry ingredients like flour with a knife to ensure consistency.
- Measure liquids at eye level in a clear measuring cup to prevent overpouring.
By paying attention to detail when measuring, you set yourself up for success from the very beginning.
Overworking the Dough
Kneading is essential for developing gluten, which gives bread its structure. However, overkneading can make the dough tough and unyielding. On the other hand, under-kneading leaves the dough weak and unable to trap air bubbles effectively.
Here’s how to find the balance:
- Knead until the dough becomes smooth and elastic, usually around 8–10 minutes by hand or 5–7 minutes with a mixer.
- Perform the “windowpane test” by stretching a piece of dough between your fingers—if it stretches thin without tearing, it’s ready.
- Let technology do the work for you! Modern stand mixers equipped with dough hooks can save time and effort while ensuring proper kneading.
Remember, patience and practice will teach you just the right touch.
Ignoring Proofing Times
Proofing refers to the process where yeast ferments sugars in the dough, producing carbon dioxide gas that makes the bread rise. Skipping or rushing proofing steps can leave your loaf flat and dense.
Tips for successful proofing:
Allow enough time for the dough to double in size. This might take anywhere from 1 to 4 hours depending on temperature and humidity.
Keep the dough in a warm, draft-free environment. A slightly heated oven or microwave works wonders as a makeshift proofing box.
If you’re short on time, try overnight refrigeration (“cold fermentation”) to slow down yeast activity and enhance flavor.
Understanding proofing times ensures light, airy textures in your baked goods.
Cutting Corners on Oven Preparation
Even if you’ve done everything right so far, improper oven preparation can ruin your efforts. Preheating is crucial because cold ovens don’t generate enough heat to activate the initial burst of rising needed for a good crust.
Steps to prepare your oven:
- Always preheat your oven fully before placing the dough inside.
- Consider using a baking stone or Dutch oven to mimic professional conditions, trapping steam and promoting an ideal crust.
- Avoid opening the oven door during the first 20 minutes of baking to maintain consistent heat.
These simple adjustments can elevate your bread from ordinary to extraordinary.
Learning from Failure
Every mistake is an opportunity to learn and grow. Even seasoned bakers face occasional flops, but they use those experiences to refine their techniques. Instead of getting discouraged, embrace each misstep as part of your journey toward mastery.
For instance:
- Did your bread collapse? It could mean it was overproofed or slashed incorrectly before baking.
- Is the crumb too tight? You might need more hydration or longer fermentation.
- Experiment with different flours, yeasts, and methods to discover what works best for you.
Baking isn’t just about following instructions—it’s about creativity and perseverance. Each loaf tells a story, and yours will only get better with time.
Conclusion
In summary, mastering bread baking requires attention to detail, patience, and a willingness to learn from mistakes. From accurate measurements to proper proofing and oven prep, each step plays a vital role in achieving great results.
Remember, no one starts as an expert; every baker has faced hurdles along the way. The key is to keep trying, stay curious, and enjoy the process.
Now it’s your turn! Share your favorite bread recipe or ask questions about specific issues you’ve encountered. Happy baking, and let’s create something wonderful together!

Thayná Alves is an influential digital content creator who has carved out a significant space in the realms of technology, finance, and entrepreneurship. Through her blog, Newbacker.com , she stands out as an authentic and accessible voice for individuals seeking practical information about investments, innovation, and emerging trends in the financial market.
