There’s something magical about the smell of freshly baked bread wafting through your kitchen. It evokes feelings of comfort, tradition, and a sense of accomplishment that only comes from creating something truly special with your own hands.
If you’ve ever dreamed of making authentic rustic Italian bread at home but thought it was too complicated, let me assure you—it’s far simpler than you might imagine! In this article, we’ll explore how to craft delicious.
Crusty loaves using basic ingredients and techniques that have been passed down for generations. Whether you’re an experienced baker or just starting out, by the end of this guide, you’ll be well on your way to mastering one of Italy’s most beloved staples.
So roll up your sleeves, gather your tools, and get ready to transform simple flour, water, yeast, and salt into golden perfection. Let’s dive in!
Understanding the Basics of Rustic Italian Bread
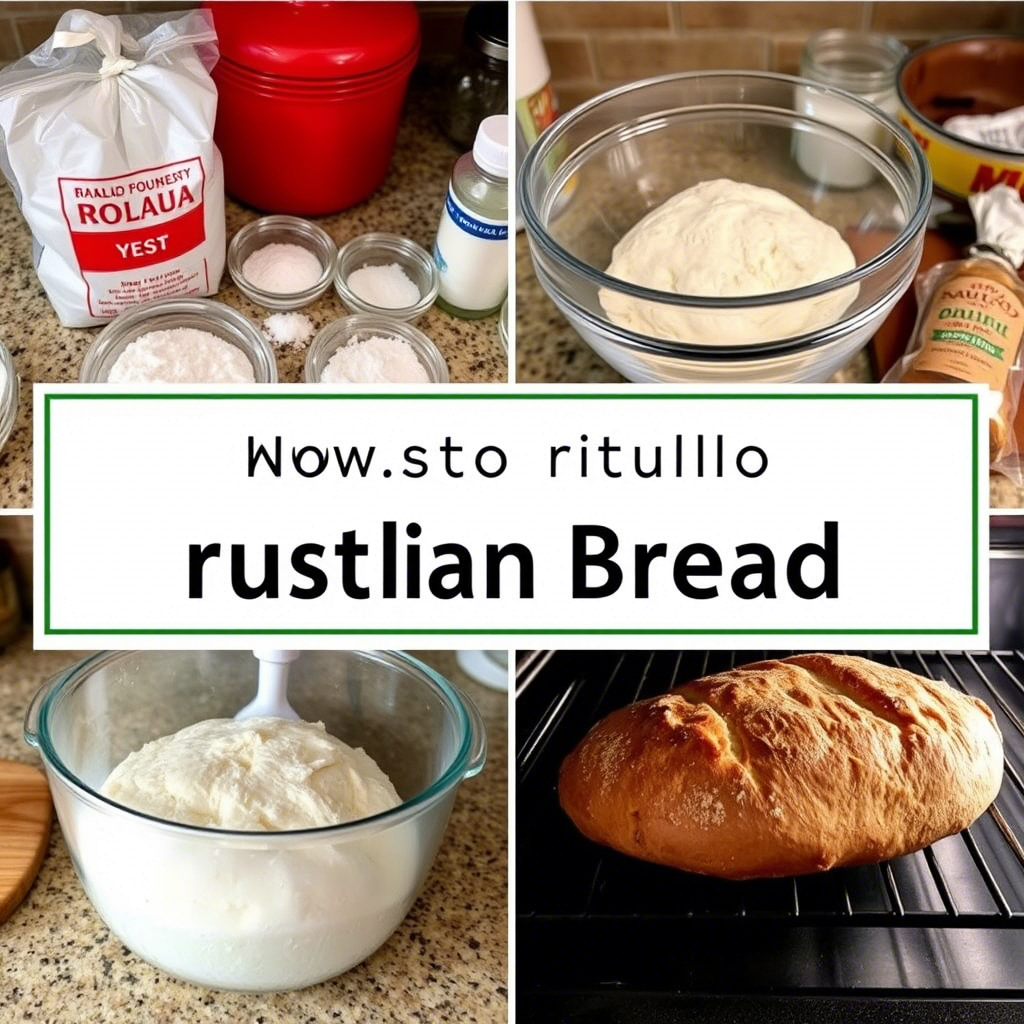
Rustic Italian bread is all about simplicity and quality. Unlike other types of bread, its charm lies in minimal ingredients and traditional methods. The key components are high-quality flour, pure water, active yeast, and coarse sea salt. These humble elements come together to create a loaf with a crispy exterior and soft, airy interior.
The first step toward success is choosing the right flour. Opt for unbleached all-purpose flour or bread flour, as they provide the necessary gluten structure for a chewy texture. For added authenticity, consider mixing in some whole wheat or semolina flour—this will give your bread a slightly nutty flavor reminiscent of classic Italian recipes.
Another crucial factor is hydration. A higher water content creates large air pockets inside the dough, resulting in the characteristic open crumb found in rustic Italian bread. Don’t shy away from adding more water if your dough feels stiff; remember, practice makes perfect!
Mastering the Mixing Process
Once you’ve gathered your ingredients, it’s time to mix them together. Begin by combining the flour, salt, and yeast in a large bowl. Gradually add warm water while stirring gently until the mixture forms a shaggy mass. Avoid overmixing at this stage, as excessive kneading can lead to dense bread.
For best results, use the “autolyse” method—a technique where you allow the dough to rest after initial mixing. Cover the bowl with a damp cloth and let it sit for 20–30 minutes. This resting period allows the flour to fully absorb the liquid, improving gluten development and enhancing the overall texture of the bread
After autolysis, transfer the dough to a lightly floured surface and knead for 8–10 minutes. You should feel the dough becoming smoother and elastic under your hands. Remember, patience is key here. Kneading develops the gluten network, which gives the bread its signature structure.
Fermentation: Where Magic Happens
Fermentation is arguably the most important part of the process. During this phase, the yeast feeds on the sugars in the dough, producing carbon dioxide gas that causes the bread to rise. Proper fermentation not only increases volume but also enhances flavor and aroma.
Place your kneaded dough in a greased bowl, cover it with plastic wrap or a clean towel, and let it ferment in a warm, draft-free area for 1–2 hours. Look for signs of doubling in size—if the dough has grown significantly, it’s ready for shaping.
If you want deeper flavors, try doing a cold fermentation overnight in the refrigerator. Known as “retarding,” this slower fermentation process enriches the taste profile of your bread, giving it that distinctive tangy note often associated with artisanal loaves.
Shaping and Scoring Your Loaf
Shaping your dough properly ensures even baking and an attractive final product. Once fermentation is complete, gently punch down the dough to release trapped air bubbles. Divide it into portions if desired, then shape each piece into a round boule or oblong batard.
To achieve a professional finish, use a sharp knife or lame (a specialized tool used for scoring) to make diagonal slashes across the top of the loaf. Scoring helps control expansion during baking and adds visual appeal to your finished bread. Be bold with your cuts—you don’t want shallow lines that disappear once the bread bakes.
Baking Tips for Perfect Crust
Baking rustic Italian bread requires high heat and steam to produce the ideal crust. Preheat your oven to 450°F (230°C) and place a Dutch oven or baking stone inside to ensure even heat distribution. When ready, carefully transfer your shaped dough onto the hot surface and bake for 25–30 minutes.
Steam plays a vital role in achieving a crackling crust. To replicate professional conditions at home, pour a cup of hot water into a preheated pan placed below the bread. Alternatively, spritz the walls of the oven with water before closing the door.
When the timer goes off, check the bottom of the loaf for a hollow sound when tapped. If it sounds solid, remove the bread from the oven and cool it completely on a wire rack before slicing. Patience pays off here—the longer you wait, the better the texture and flavor will be.
Conclusion
Making rustic Italian bread at home is a rewarding experience that connects us to centuries-old traditions. From selecting the finest ingredients to perfecting the art of fermentation and scoring, every step contributes to the creation of a masterpiece.
Not only does homemade bread taste infinitely better than store-bought varieties, but it also fosters creativity and pride in your culinary skills.
Now that you know the secrets behind crafting authentic rustic Italian bread, why not give it a try? Share your creations with family and friends, and don’t forget to experiment with different flours and seasonings to find what works best for you. Happy baking!
Before you go, tell us—what’s your favorite type of bread? Or do you already have a tried-and-true recipe you’d like to share? We’d love to hear from you in the comments below!

Thayná Alves is an influential digital content creator who has carved out a significant space in the realms of technology, finance, and entrepreneurship. Through her blog, Newbacker.com , she stands out as an authentic and accessible voice for individuals seeking practical information about investments, innovation, and emerging trends in the financial market.
