There’s something magical about the smell of freshly baked bread wafting through your kitchen. It’s comforting, nostalgic, and downright irresistible.
But have you ever thought about making your own loaf from scratch? While it might seem intimidating at first, baking bread is an accessible skill that anyone can master with a little patience and practice.
In this article, we’ll take you on a journey from dough to loaf, breaking down the process into simple steps so you can enjoy homemade bread without any stress.
Whether you’re a beginner or looking to refine your technique, this guide will provide all the tools you need to create delicious, crusty loaves right in your own home.
Bread making isn’t just about food—it’s also about connection. For centuries, people around the world have gathered together over kneading bowls and ovens, creating bonds as they craft their daily sustenance.
Today, learning how to bake bread allows us to reconnect with tradition while enjoying one of life’s simplest pleasures. So roll up your sleeves, gather your ingredients, and let’s get started!
1. Understanding the Basics of Bread Making
At its core, bread requires only four essential ingredients: flour, water, yeast, and salt. These humble components come together through a series of carefully timed processes to transform into a golden-brown masterpiece. Let’s break these basics down:
- Flour : The foundation of every loaf, flour provides structure thanks to gluten—a protein formed when liquid is added. Choose high-protein flours like bread flour for chewier textures or all-purpose flour for softer results.
- Water : Hydration activates the gluten network and helps bring everything together. Too much water makes the dough sticky; too little leaves it dry. Finding the right balance depends on the recipe and climate.
- Yeast : This tiny organism does the heavy lifting by fermenting sugars in the dough, producing carbon dioxide gas that causes the bread to rise. Active dry yeast and instant yeast are common choices for home bakers.
- Salt : Not just for flavor, salt regulates yeast activity and strengthens the gluten structure, ensuring your bread rises evenly.
Understanding these fundamentals empowers you to troubleshoot issues if things don’t go according to plan. And remember, consistency improves with practice!
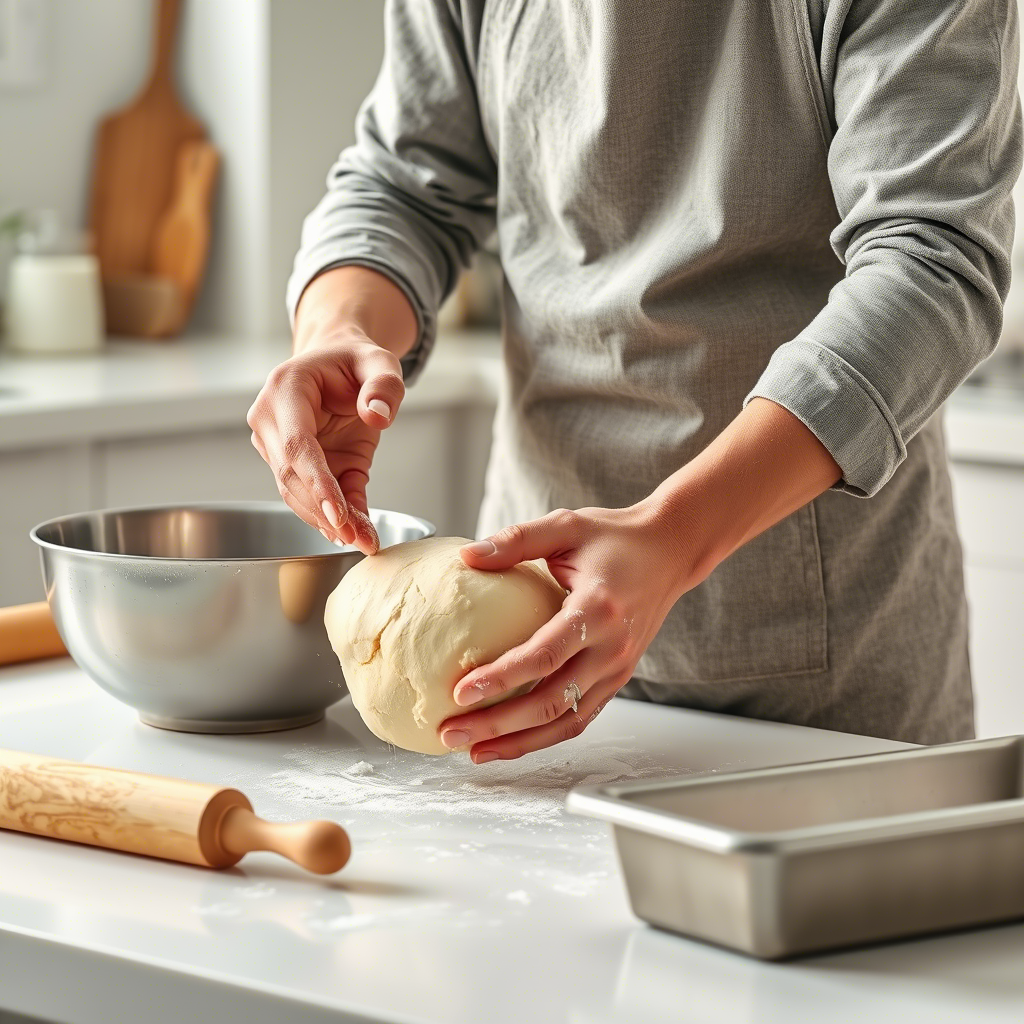
2. Mastering the Mixing and Kneading Process
Once you’ve assembled your ingredients, it’s time to mix them into a cohesive dough. Start by combining dry ingredients in a large bowl before gradually adding wet ones. Stir until the mixture comes together, then transfer it to a lightly floured surface for kneading.
Kneading is crucial because it develops gluten, which gives bread its elasticity and texture. Use the “push-fold-turn” method: push the dough away with the heels of your hands, fold it back onto itself, give it a quarter turn, and repeat. Aim for 8–10 minutes of kneading—or until the dough feels smooth and elastic.
If manual kneading sounds daunting, consider using a stand mixer fitted with a dough hook. Either way, the goal remains the same: achieve a well-developed dough ready for fermentation.
3. Allowing Time for Fermentation
Fermentation, often called “the first proof,” is where the magic happens. After kneading, place your dough in a greased bowl, cover it with a damp cloth, and let it rest in a warm spot for 1–2 hours. During this time, the yeast works tirelessly, consuming sugars and releasing gases that cause the dough to double in size.
Temperature plays a significant role here. If your kitchen is chilly, preheat your oven to 150°F (65°C), turn it off, and let the dough rise inside with the door slightly ajar. Conversely, avoid overly hot environments, as excessive heat can kill the yeast.
As the dough ferments, check its progress periodically. A good test is the “poke test”: gently press your finger into the dough. If the indentation holds, it’s ready for shaping.
4. Shaping and Scoring Your Loaf
Shaping transforms your risen dough into a uniform form suitable for baking. Begin by deflating the dough gently to release trapped air bubbles. Then, shape it into a round boule, batard, or other desired forms depending on your pan or preference.
Before placing the shaped dough in the oven, allow it to undergo a second proof (usually 30–60 minutes). Once it has puffed up again, score the top with a sharp knife or lame. Scoring not only enhances aesthetics but also controls where the bread expands during baking, preventing uneven cracks.
This step requires precision and confidence, so don’t be afraid to practice. Over time, you’ll develop a signature style that reflects your personal touch.
5. Baking Like a Pro
The final frontier: baking! Preheat your oven to the temperature specified in your recipe (typically between 375°F and 450°F / 190°C and 230°C). For extra-crusty results, add steam by placing a shallow tray of water in the bottom of the oven or spraying the walls with water.
Bake the loaf for 25–40 minutes, depending on its size. To check doneness, tap the bottom of the loaf—if it sounds hollow, it’s done. Alternatively, insert a thermometer into the center; the internal temperature should reach 190°F–205°F (88°C–96°C).
Allow the bread to cool completely on a wire rack before slicing. Cutting too soon can compromise its texture, resulting in a gummy interior. Patience pays off when it comes to enjoying perfectly baked bread.
Conclusion
Making bread from scratch is more than just cooking—it’s an art, a science, and a labor of love. By understanding the basics, mastering techniques, and embracing the beauty of fermentation, you can create loaves that rival those of professional bakers.
Each step along the way offers opportunities to learn and grow, whether you’re troubleshooting a stubborn dough or experimenting with new flavors.
So why stop now? Try out different recipes, incorporate unique ingredients, and share your creations with friends and family. Who knows—you may discover a hidden passion for artisanal bread making.
Leave a comment below sharing your favorite tips or challenges, and happy baking! Remember, the best way to improve is to keep practicing—and there’s no better reward than biting into a slice of warm, homemade bread.

Thayná Alves is an influential digital content creator who has carved out a significant space in the realms of technology, finance, and entrepreneurship. Through her blog, Newbacker.com , she stands out as an authentic and accessible voice for individuals seeking practical information about investments, innovation, and emerging trends in the financial market.
