There’s a quiet magic in transforming a simple, sticky lump of dough into a beautifully shaped loaf ready for the oven. It’s a moment where science meets art, and your hands become the primary tool. If you’ve ever pulled a misshapen, flat, or lopsided loaf from your oven and wondered what went wrong, the answer often lies in one crucial step: shaping.
Don’t worry—mastering this skill is far more accessible than it seems. This guide will walk you through the foundational techniques for creating two classic and versatile bread shapes: the round boule and the oval bâtard.
We’ll cover why proper shaping matters, break down the step-by-step process for each form, and share practical tips to help you build confidence and consistency. By the end, you’ll be equipped to give your sourdough or yeasted bread the structure it needs to rise tall and proud.
Why Proper Shaping is Your Secret Weapon for Better Bread
Before you even think about flour-dusted hands, it’s important to understand why shaping is so critical. It’s not just about aesthetics; it’s about physics and biology. When you shape your dough, you’re doing two main things: creating surface tension and organizing the gluten network.
Surface tension is the invisible “skin” you create on the outside of the dough. This taut skin acts like a corset, holding the loaf together during its final proof and, most importantly, during the initial, explosive burst of heat in the oven known as “oven spring.” Without this tension, your dough will spread outwards instead of upwards, resulting in a flat, dense pancake of bread.
Furthermore, a good shape organizes the gluten—the protein network that gives bread its structure. Think of it like combing tangled hair; a well-shaped loaf has its gluten strands neatly aligned, which provides a strong framework for the carbon dioxide gas produced by your yeast or starter to expand against.
As a result, you get a loaf with a better rise, a more open and even crumb, and a professional-looking finish. In short, great shaping is the bridge between a good fermentation and a great final bake
Mastering the Boule: Your Foundation in Round Loaf Shaping
The boule (French for “ball”) is the perfect starting point for any beginner. Its simple, round shape is forgiving and teaches the core principles of tension-building that apply to all other shapes.
Here’s a straightforward method:
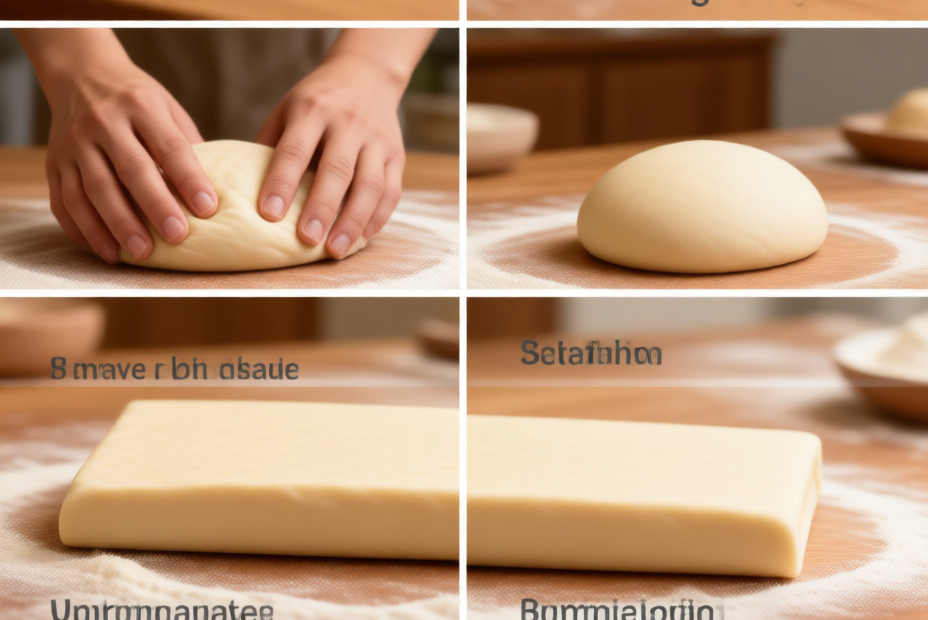
- Start with a Pre-shape: After your bulk fermentation, gently turn your dough out onto a lightly floured surface. Using a bench scraper, divide it if necessary, then form it into a loose, round ball. Let it rest for 20-30 minutes. This “bench rest” relaxes the gluten, making the final shaping much easier.
- Create the Tension: Flip your pre-shaped round over so the smooth side is down. Imagine your dough is a circle on a clock face. Take the bottom edge (6 o’clock) and fold it up towards the center. Then, take the top edge (12 o’clock) and fold it down over the first fold. Do the same with the left (9 o’clock) and right (3 o’clock) sides, folding them into the middle. You should now have a neat little packet
.
- Seal and Roll: Flip the packet over so the seam is on the bottom. Now, cup your hands around the dough. Using a gentle but firm motion, drag the dough towards you across the counter. The friction between the dough and the counter will tighten the surface. Rotate the dough a quarter-turn and repeat. In just a few passes, you’ll have a smooth, taut ball with a seamless top
The key is to use the counter’s friction, not your fingers, to create the tension. Your hands are just there to guide and contain the dough.
From Round to Oval: Shaping the Elegant Bâtard
Once you’ve conquered the boule, the bâtard (French for “bastard,” referring to its in-between size) is a natural next step. This oval loaf is a favorite among bakers for its beautiful scoring potential and even baking.
The process builds directly on your boule skills but adds a rolling step:
- Pre-shape into a Log: After the bulk ferment, gently shape your dough into a loose log or cylinder, not a ball. Let it bench rest for 20-30 minutes.
- Flatten and Fold: Place the rested log horizontally in front of you. Gently flatten it into a rough rectangle with your fingertips. Now, fold the bottom third of the rectangle up to the center and press to seal. Fold the top third down over it, like folding a business letter, and seal the seam with the heel of your hand
.
- Roll to Length: With the seam side down, begin to roll the dough back and forth under your hands, starting from the center and working your way out to the ends. Apply gentle, even pressure to create a uniform oval shape with tapered, rounded ends. Be careful not to roll too aggressively, or you’ll push all the gas out of your dough
The goal is a smooth, taut surface with a consistent width through the middle and graceful points at the ends. This shape provides a large, flat canvas for creative scoring patterns.
Common Pitfalls and Pro Tips for Shaping Success
Even with the best instructions, a few common issues can trip up new bakers. Here’s how to troubleshoot them:
My dough is too sticky! A light dusting of flour on your work surface and hands is your friend, but use it sparingly. Too much flour will prevent the dough from sealing properly and can make your crust dry. If your dough is extremely sticky, it might be over-proofed or have a very high hydration level. For beginners, starting with a dough of around 70% hydration is more manageable.
My loaves spread out instead of rising up. This is almost always a sign of insufficient surface tension during shaping or a final proof that was too long. Make sure you’re creating that taut “skin” and that your dough is properly proofed—not under-proofed (dense) and not over-proofed (weak).
I’m losing all the gas in my dough! Be gentle. Shaping is a firm but respectful process. You want to de-gas the dough just enough to reorganize it, not to punch all the life out of it. Use a light touch and let the dough’s natural strength do the work.
A final pro tip: practice makes perfect. Don’t be discouraged if your first few loaves aren’t bakery-worthy. Every time you shape a loaf, you’re building muscle memory and a deeper understanding of your dough’s texture and behavior.
Embrace the Journey of Handcrafted Bread
Shaping your own bread is more than just a technical step; it’s a connection to a centuries-old tradition of craftsmanship. There’s a profound satisfaction in knowing that the beautiful loaf on your table was coaxed into its final form by your own hands. Each boule and bâtard you shape is a unique creation, a testament to your patience and care. The slight imperfections aren’t failures—they’re the signature of a home baker, a story of learning and growth baked right into the crust.
So, don’t wait for perfection to start. Gather your ingredients, mix your dough, and give these shaping techniques a try. Remember, every master baker was once a beginner who didn’t give up after a flat loaf.
Conclusion
We’ve covered the essential ground for beginning your bread-shaping journey. You now understand that proper shaping is vital for creating the surface tension needed for a good oven spring and an open crumb. You’ve learned the step-by-step methods for forming a classic round boule and an elegant oval bâtard, and you’re equipped with tips to avoid common mistakes like over-flouring or de-gassing your dough.
The path to consistently beautiful loaves is paved with practice and a willingness to learn from each bake. So, tie on your apron, dust your counter, and give it a go. Your future self, enjoying a slice of warm, perfectly shaped homemade bread, will thank you for it. What shape will you try first? Share your baking adventures and questions in the comments below!
Thayná Alves is an influential digital content creator who has carved out a significant space in the realms of technology, finance, and entrepreneurship. Through her blog, Newbacker.com , she stands out as an authentic and accessible voice for individuals seeking practical information about investments, innovation, and emerging trends in the financial market.