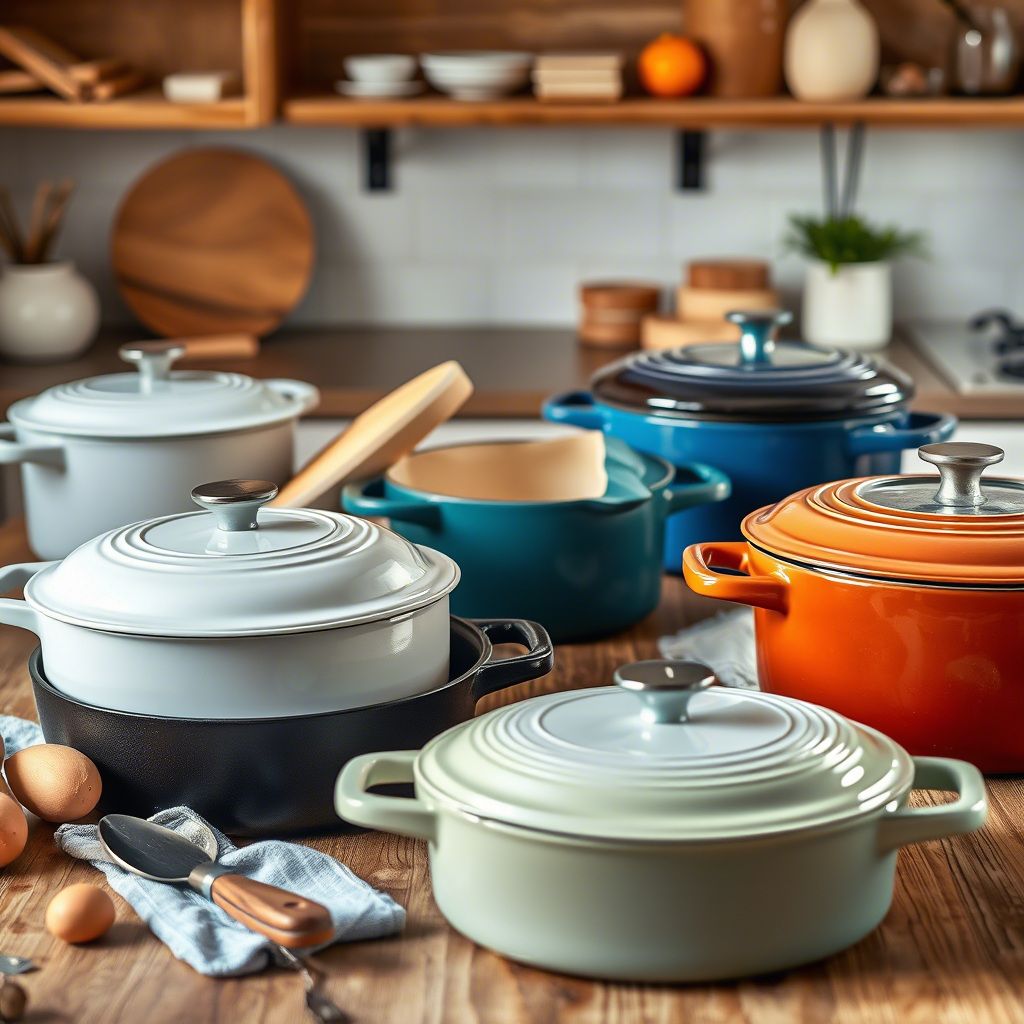
There’s something deeply satisfying about pulling a warm, freshly baked loaf from the oven—its golden crust crackling slightly as it cools, filling your kitchen with that comforting, home-baked aroma. For many bakers, the Dutch oven has become a go-to tool for achieving that perfect artisan-style bread at home. But what if you don’t own one? Or maybe yours is buried in a cabinet and you’re not quite ready to dig it out?
The good news is that you don’t need a Dutch oven to bake amazing bread. Whether you’re new to baking or just looking for more flexibility in your kitchen tools, there are plenty of effective alternatives that can deliver delicious results. In this article, we’ll explore practical substitutes for the Dutch oven, from everyday kitchen staples to clever hacks that might surprise you.
We’ll walk through why the Dutch oven works so well for bread baking, then break down each alternative with tips on how to use them effectively. You’ll discover how simple swaps can still give you that coveted oven spring and crispy crust—all without breaking the bank or cluttering your kitchen.
Let’s dive in and uncover how you can keep baking with confidence, even without a Dutch oven.
Why the Dutch Oven Works (And What You Can Use Instead)
Before we jump into alternatives, let’s take a quick look at why the Dutch oven is such a popular choice among bakers. Its heavy, lidded design traps steam during the initial phase of baking, which helps create that signature rise and crisp crust. The thick walls retain and distribute heat evenly, mimicking the conditions of a professional bread oven.
But here’s the thing: while a Dutch oven is ideal, it’s not the only way to achieve great results. Many home bakers already have tools in their kitchens that can replicate some of these effects with just a few tweaks.
For example, a basic baking steel or stone can mimic the heat retention of a Dutch oven when preheated properly. These surfaces help regulate temperature and encourage an even bake. Similarly, rimmed baking sheets or cast iron skillets can be used creatively to trap heat or steam, especially when paired with a bit of water or a spray bottle.
Even simpler: your standard oven rack and a tray for water can create enough steam to help your bread rise beautifully before the crust sets. While it won’t trap moisture like a Dutch oven lid does, it’s a surprisingly effective solution.
The key takeaway? You don’t need specialized equipment to bake great bread. With a little creativity and understanding of how heat and steam work together, you can adapt your current tools to get bakery-quality results at home.
Baking Steel or Stone: A Solid Foundation for Great Bread
If you’re serious about improving your homemade bread but don’t want to invest in a Dutch oven, a baking steel or baking stone might be your best bet. Both function by absorbing and radiating heat evenly, much like the thick walls of a Dutch oven. This creates a consistent baking environment that encourages proper oven spring and a crisp crust.
A baking steel , usually made of conductive carbon steel, heats up quickly and holds onto that heat, giving your dough a strong burst of energy right when it needs it most—during the first few minutes of baking. A baking stone , often made from ceramic or cordierite, takes longer to heat but retains heat exceptionally well, offering a steady surface for your loaf to bake on.
To use either effectively, place the steel or stone on the middle rack of your oven and preheat it for at least 45 minutes before baking. This ensures it reaches the high temperatures needed to mimic the intense heat of a commercial oven. Once your dough is ready, carefully transfer it onto the hot surface using a peel or parchment-lined pizza paddle.
To replace the steam-trapping lid of a Dutch oven, you can do a couple of things:
- Place a shallow pan filled with hot water on the bottom rack of your oven.
- Mist the inside of the oven with water using a spray bottle during the first 10–15 minutes of baking.
- Cover your loaf loosely with a large metal bowl or another oven-safe container for the first part of baking.
These techniques help maintain moisture in the oven, allowing the crust to expand before setting, resulting in a better rise and a crisper exterior.
Using a baking steel or stone may require a bit more planning than a Dutch oven, but the results speak for themselves—especially if you bake bread regularly.
Cast Iron Skillet + Metal Bowl: A Clever Dutch Oven Hack
If you love the idea of baking bread with a covered vessel but don’t own a Dutch oven, chances are you already have a cast iron skillet tucked away in your kitchen. It’s one of the most versatile pieces of cookware you can own—and it makes a surprisingly effective substitute for a Dutch oven when paired with a simple metal mixing bowl .
Here’s how it works:
Preheat your cast iron skillet in the oven at your desired baking temperature (usually around 450°F / 230°C) for at least 30–45 minutes.
Shape and proof your dough as usual.
Carefully transfer the dough into the hot skillet—lined with parchment paper for easy removal.
Cover the loaf with an inverted metal bowl (like a stainless steel mixing bowl) to trap steam and mimic the enclosed environment of a Dutch oven.
Bake covered for the first 20–30 minutes, then remove the bowl and continue baking until the crust is deep golden brown.
This method works because the cast iron retains and radiates heat beautifully, while the metal bowl traps moisture during the critical early stages of baking. The result? A well-risen loaf with a crackly crust and soft interior.
One thing to keep in mind: make sure the metal bowl you use is oven-safe and fits snugly over the skillet without touching the dough. Also, handle everything with care—those bowls and skillets get extremely hot!
This hack is especially great for those who want to try baking with a covered environment but aren’t ready to commit to buying a Dutch oven. Plus, it’s a smart way to use what you already have in your kitchen.
Rimmed Baking Sheet or Cookie Tray: Simplicity at Its Best
Sometimes, the simplest solutions are the most effective. If you’re looking for a no-fuss way to bake bread without a Dutch oven, a rimmed baking sheet or cookie tray might be all you need. These are common in most kitchens and surprisingly versatile when it comes to bread baking.
Here’s how to use them effectively:
Preheat your oven along with a baking steel or stone underneath (if you have one). If not, just place the baking sheet directly on the middle rack.
Line the sheet with parchment paper for easy cleanup and gentle release.
Once your dough is proofed, score it gently and place it on the prepared baking sheet.
To mimic the steam effect of a Dutch oven, place a shallow pan filled with boiling water on the bottom rack of your oven. Alternatively, spritz the oven walls with water during the first 10–15 minutes of baking.
Bake uncovered, rotating halfway through for even browning.
While this method doesn’t offer the same level of steam retention as a covered pot, it still allows for good oven spring and crust development—especially when combined with a few tricks.
The rimmed edges of the baking sheet help contain any slight spreading of the dough, keeping your loaf looking neat and uniform. And since it’s flat, it makes scoring and transferring the dough much easier compared to deeper pots.
This approach is perfect for beginners or anyone who wants to bake bread without investing in extra equipment. It’s also a great option for larger loaves that might not fit comfortably in a Dutch oven.
Pizza Stone or Tiles: Unconventional but Effective
Did you know that some home bakers use unglazed quarry tiles or leftover pizza stones as alternatives to Dutch ovens? It might sound odd at first, but these materials excel at absorbing and distributing heat evenly—just like the thick walls of a Dutch oven.
Pizza stones, in particular, are designed to absorb moisture and radiate heat, making them ideal for achieving a crisp bottom crust and even rise. If you already own one, you’re halfway there. If not, a set of unglazed terra cotta tiles (often found at hardware stores) can be cleaned and used safely in the oven.
Here’s how to use them:
Place the stone or tiles on the middle rack of your oven.
Preheat the oven (and the stone) for at least 45 minutes before baking.
Transfer your shaped dough onto the hot surface using a floured peel or parchment-lined pizza paddle.
Create steam by placing a tray of boiling water on the bottom rack or spraying the oven walls with water during the first few minutes of baking.
Optionally, cover the loaf with an overturned metal bowl for the first half of baking to trap steam.
This method works especially well for thinner, hearth-style breads like baguettes or focaccia. While it doesn’t offer the full enclosure of a Dutch oven, it still delivers excellent heat distribution and crust development.
The biggest advantage? These surfaces are reusable, affordable, and often underutilized in many kitchens. They’re also easy to store and clean—making them a great long-term investment for frequent bakers.
So, if you’re looking for a budget-friendly alternative that still gives you professional-level results, consider repurposing a pizza stone or tile. It might just become your favorite bread-baking tool.
Glass or Ceramic Dishes: An Unexpected Substitute
When most people think about Dutch oven alternatives, glass or ceramic dishes might not immediately come to mind. However, these common kitchen items can actually serve as effective replacements—if used correctly.
Glass and ceramic dishes, especially those with lids (like Pyrex containers), can trap heat and moisture during baking, similar to a Dutch oven. While they may not hold heat as intensely as cast iron, they still provide a controlled environment that helps your bread rise properly and develop a nice crust.
Here’s how to use them:
Choose a deep, oven-safe glass or ceramic dish with a lid. Make sure it can withstand high temperatures (most modern ones are rated up to 425°F / 220°C).
Preheat the empty dish in the oven for at least 30 minutes before baking.
Shape and proof your dough as usual, then carefully transfer it into the hot dish—lined with parchment paper for easy removal.
Cover with the lid and bake for the first 20–30 minutes.
Remove the lid and continue baking until the crust is golden brown and sounds hollow when tapped.
One important note: glass conducts heat differently than metal or cast iron, so you may need to adjust your baking time slightly. Keep an eye on your loaf and trust your instincts—it should feel firm and sound hollow when done.
This method is especially useful for smaller batches or enriched breads like brioche or sourdough boules. Plus, since many people already own glass or ceramic bakeware, it’s a convenient and cost-effective alternative.
So next time you’re craving homemade bread but don’t have a Dutch oven handy, reach for that casserole dish instead—you might be pleasantly surprised by the results.
Final Thoughts: Baking Freedom Without Limits
By now, you’ve seen that the Dutch oven isn’t the only path to great bread. From baking steels and cast iron skillets to rimmed baking sheets and glass dishes, there are plenty of ways to achieve beautiful loaves without special equipment.
The real takeaway here is that baking is about understanding process, not owning specific tools . Steam, heat retention, and proper airflow are what truly matter—and with a little creativity, you can manipulate these elements using what’s already in your kitchen.
Whether you’re a beginner experimenting with your first loaf or a seasoned baker looking to simplify your setup, these alternatives open up a world of possibilities. You can bake confidently, knowing that a lack of a Dutch oven doesn’t limit your ability to create delicious, crusty bread at home.
So, don’t wait for the perfect tool—start with what you have. Try one of these methods, tweak it to suit your style, and enjoy the journey of discovery that baking brings.
Conclusion: Start Baking Today—No Dutch Oven Needed
In this article, we explored several practical and effective Dutch oven alternatives for home bakers. From baking steels and cast iron skillets to rimmed baking sheets and glass dishes, each option offers unique benefits that can help you achieve bakery-quality bread at home.
We learned that the secret behind the Dutch oven’s success lies in its ability to trap steam and radiate heat evenly—something that can be replicated using other kitchen tools and a few clever techniques. Whether you opt for a cast iron skillet with a metal bowl or simply use a baking sheet with a tray of water, the goal remains the same: creating the ideal environment for your bread to rise and develop a beautiful crust.
The beauty of home baking is that it doesn’t require expensive gadgets or complicated setups. With a bit of knowledge and experimentation, you can turn everyday items into powerful baking tools. So, don’t let the absence of a Dutch oven stop you from trying your hand at sourdough, ciabatta, or any other artisan bread recipe.
Now that you’re equipped with these alternatives, it’s time to roll up your sleeves, preheat your oven, and start baking. Share your creations, experiment with different methods, and most importantly—have fun with it.
What’s your favorite Dutch oven alternative? Have you tried any of these methods before? Let us know in the comments below—we’d love to hear about your baking adventures!

Thayná Alves is an influential digital content creator who has carved out a significant space in the realms of technology, finance, and entrepreneurship. Through her blog, Newbacker.com , she stands out as an authentic and accessible voice for individuals seeking practical information about investments, innovation, and emerging trends in the financial market.