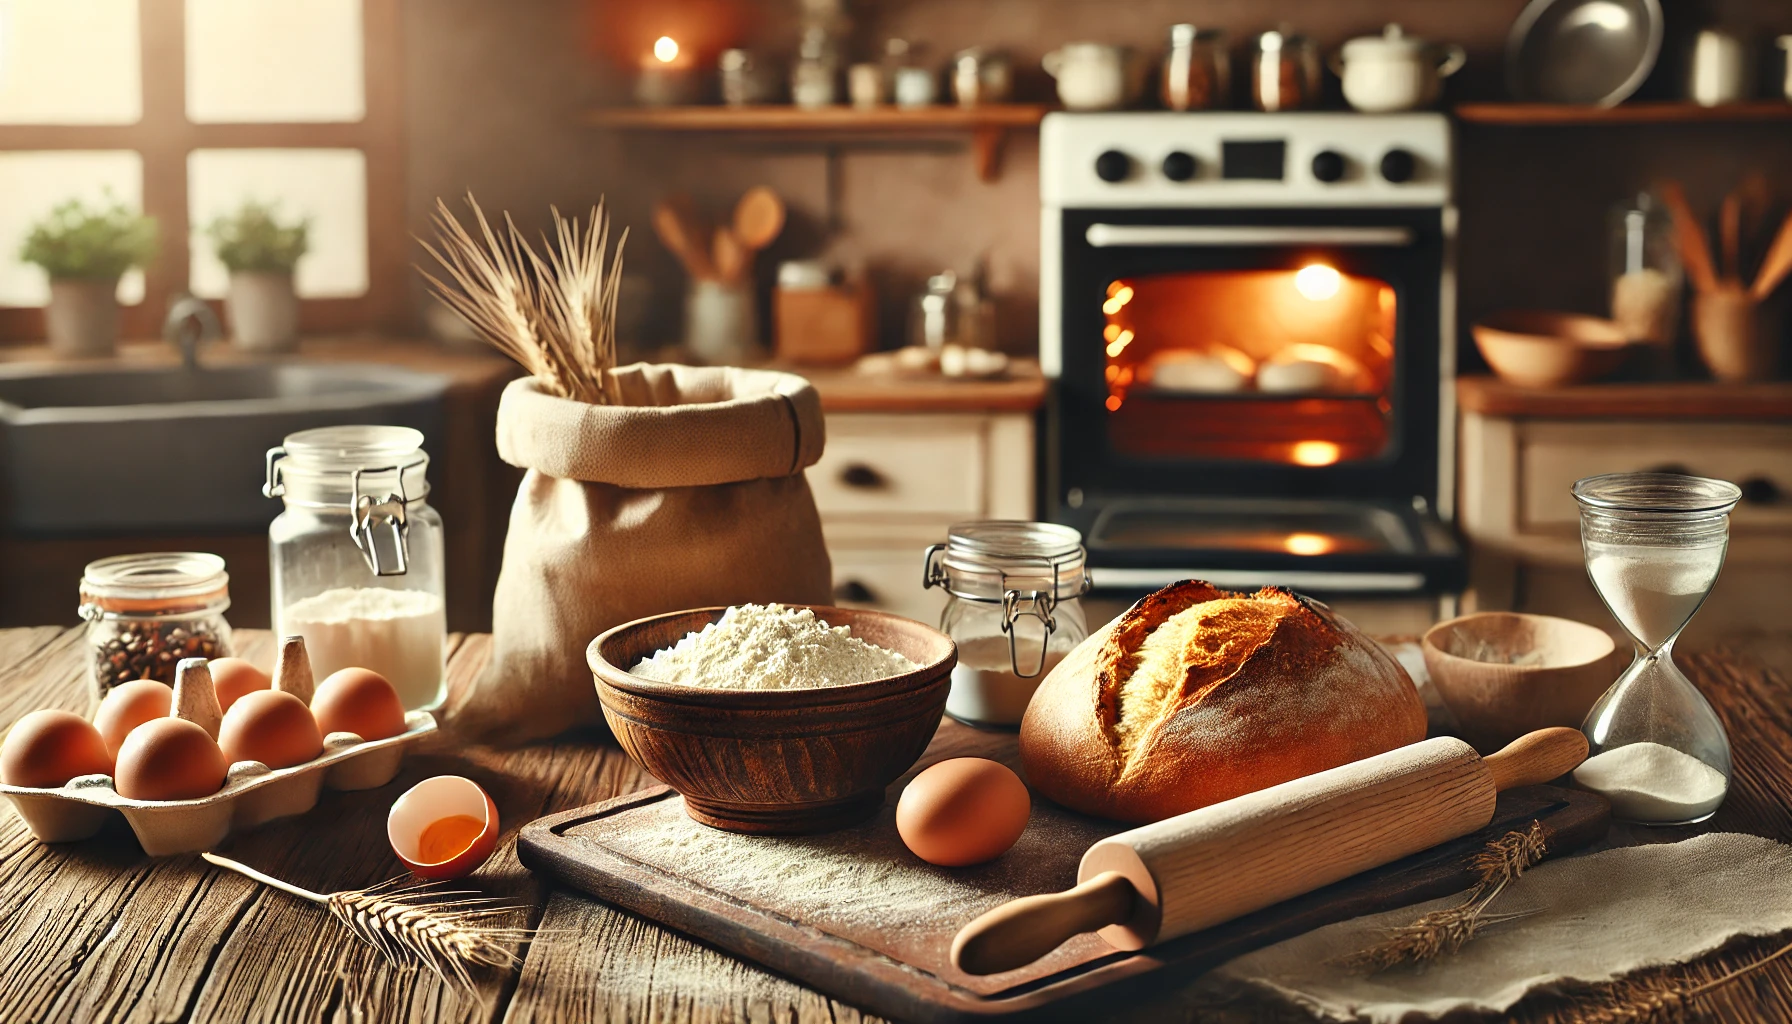
There’s something magical about the aroma of freshly baked bread wafting through your kitchen. Making bread at home is more than just creating food—it’s about crafting comfort, connecting with tradition, and taking a moment to enjoy the simple pleasures of life. Whether you’re a seasoned baker or a curious beginner, achieving bakery-quality bread at home is completely doable with the right guidance. This comprehensive guide will equip you with all the tips for perfect results, ensuring your homemade loaves are nothing short of extraordinary.
Let’s dive into the process step by step and uncover the secrets to consistently crafting delicious, golden-brown bread that you can be proud of.
How to Make Bread at Home: The Essential Ingredients
Every masterpiece starts with a solid foundation, and bread is no exception. To make bread at home, you’ll need:
- Flour: The type of flour significantly affects your bread’s texture and flavor. For beginners, all-purpose flour works well, while bread flour provides a chewier texture.
- Yeast: Active dry yeast or instant yeast are the most common types. Always check expiration dates for reliable rising.
- Water or Milk: Liquids hydrate the dough and impact flavor. Use lukewarm temperatures to activate the yeast.
- Salt: Enhances flavor and strengthens the dough structure.
- Optional Add-ins: Think herbs, seeds, nuts, or even dried fruit to elevate your bread to the next level.
Mastering the Art of Dough Preparation
The foundation of great bread lies in its dough. Follow these steps for flawless results:
- Mixing: Combine your ingredients and mix until just incorporated. Overmixing can toughen your bread.
- Kneading: Kneading develops gluten, the protein structure that gives bread its elasticity. Aim for 8–10 minutes by hand or 5–7 minutes with a mixer. A properly kneaded dough will feel smooth and slightly tacky.
- First Rise (Fermentation): Place the dough in a greased bowl, cover it, and let it rise until doubled in size. This typically takes 1–2 hours, depending on room temperature.
Shaping the Dough for Success
Once your dough has risen, it’s time to shape it. Proper shaping ensures even baking and creates that professional bakery look.
- Degas Gently: Punch down the dough to release excess air without overworking it.
- Shape Accordingly: Whether it’s a boule, baguette, or loaf, use your hands to mold the dough carefully. For intricate designs, consider scoring the top with a sharp blade.
Perfecting the Second Rise
The second rise, also called proofing, is critical to achieving that airy, light texture. Here’s how to get it right:
- Place and Cover: Transfer the shaped dough to a baking pan or tray, then cover it lightly with a clean cloth.
- Proofing Time: Let the dough rise again until it nearly doubles. Be cautious of over-proofing, which can cause your bread to collapse.
Baking Bread: The Golden Rules
Finally, it’s time to bake! Follow these steps to ensure your bread comes out beautifully every time:
- Preheat Your Oven: A hot oven is key. Most recipes recommend 375°F to 450°F (190°C to 230°C).
- Steam for Crust: Place a pan of hot water on the oven’s bottom rack. This creates steam, resulting in a crisp crust.
- Check Doneness: Tap the bottom of the loaf—it should sound hollow. For precision, use a thermometer. Bread is done when its internal temperature reaches 190°F to 200°F (88°C to 93°C).
Tips for Troubleshooting Common Bread-Making Challenges
- Dough Too Sticky? Add flour a tablespoon at a time during kneading, but avoid overcompensating.
- Bread Didn’t Rise? Check yeast freshness or proof in a warmer environment.
- Dense Texture? Insufficient kneading or proofing may be the culprit.
Creative Variations for Homemade Bread
Once you’ve mastered the basics, experiment with these exciting ideas:
- Herb and Garlic Bread: Add fresh herbs and roasted garlic for an aromatic twist.
- Whole-Grain Bread: Incorporate whole-wheat flour or seeds for a hearty, healthy loaf.
- Sweet Bread: Mix in chocolate chips, cinnamon, or dried fruits for a dessert-worthy treat.
Storing and Enjoying Your Homemade Bread
Proper storage ensures your hard work stays fresh:
- Short-Term: Wrap in a clean cloth and store at room temperature.
- Long-Term: Freeze slices or whole loaves in airtight bags. Thaw at room temperature or in the oven.
Serve your bread warm with butter, jam, or your favorite spread. Every slice will remind you why homemade bread is worth the effort.
Conclusion
Baking bread at home is an art that combines science, patience, and creativity. With these tips for perfect results, you’re equipped to turn simple ingredients into something extraordinary. Whether you’re crafting rustic sourdough or a fluffy sandwich loaf, each bake is an opportunity to learn and improve.
So roll up your sleeves, dust off the flour, and start your bread-making journey today. The satisfaction of pulling a golden loaf from the oven, knowing you made it with your own hands, is unparalleled. Your kitchen will transform into a sanctuary of warmth and delicious aromas, making every effort worthwhile.

Thayná Alves is an influential digital content creator who has carved out a significant space in the realms of technology, finance, and entrepreneurship. Through her blog, Newbacker.com , she stands out as an authentic and accessible voice for individuals seeking practical information about investments, innovation, and emerging trends in the financial market.
